| |
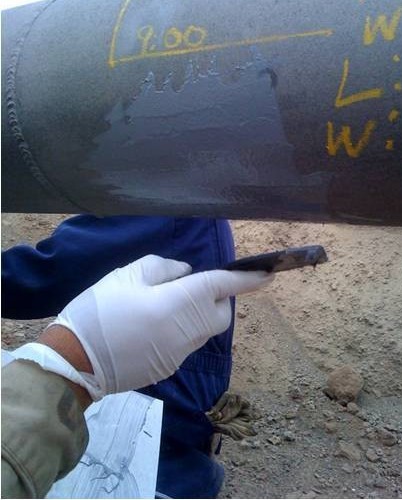
 Sandblast, wire wheel or grind to get down to bare metal.
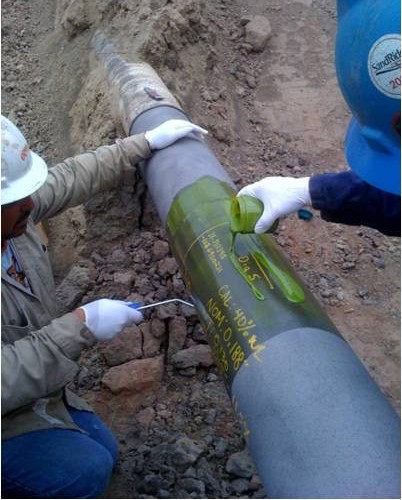
| |  Fill in all voids with two-part epoxy to seal anomoly from corrosive environment. Filler will setup in 3-5 mintues. Underwater repairs require filler less to be used as the primer too, so coat entire surface underwater being wrapped with a compostie.
| |  For above-water repairs only, apply two-part epoxy primer over filler and entire surface being wrapped. This primer, just like the filler will set up in 5 minutes or and will not allow moisture to pentrate it.
|
| |
| |
|
Remove wrap from the bag and begin wrapping it around the pipe.
| |  No mixing of cloth as it's already mixed with polyurethane resin. Spray water on wrap while wrapping it around the pipe. Wrap will setup in 45 minutes.
| |  No butting of ends required, can wrap circumferentially, spiral or overlay as much as you want. The wrap will cure as one solid layer without any crevices.
|
| |
| |
 Apply 3 layers of plastic over wet-layup composite immediately.
| |  Perforate plastic wrap immediately after wrapping it over wet-layup composite.
| |  Wrap is soaking up water it needs to cure and draining excess water, and it will be a white color because of the polyurethane.
|
| |
| |
 Remove plastic wrap 45 minutes later and then apply top coat. Wait one hour for top coat to cure then bury. If above ground apply UV coating.
| | | | |